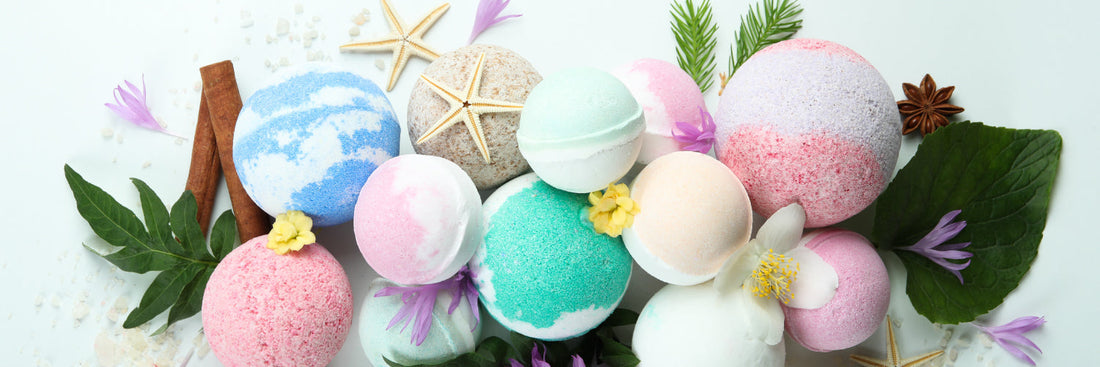
DIY Shea Butter Bath Bombs
DIY Shea Butter Bath Bombs
Pamper Yourself with Moisturizing, Homemade Luxury!
Treat yourself—or someone you love—to a luxurious soak with these DIY shea butter bath bombs. Made with nourishing, natural ingredients, these fizzy delights deeply hydrate the skin, soothe irritation, and offer a relaxing spa-like experience right at home. They're simple to make, fun to customize, and perfect for gifting!
🧼 Why Shea Butter?
Shea butter is rich in vitamins and fatty acids, making it a powerful moisturizer that softens and soothes dry or irritated skin. In bath bombs, it adds a creamy texture and leaves your skin feeling silky smooth after every soak.
🧪 Ingredients
- 2 cups baking soda
- 1 cup citric acid
- ¼ cup Epsom salt
- 2 tablespoons shea butter (melted)
- 4–6 drops essential oil (optional – lavender, eucalyptus, or citrus are great choices)
- 5–7 drops food coloring (optional)
- Spray bottle filled with water
🧴 Instructions
1. Mix Dry Ingredients
In a large bowl, combine the baking soda, citric acid, and Epsom salt. Stir thoroughly to evenly distribute all dry components.
2. Add the Wet Ingredients
Melt the shea butter gently and mix in the essential oils if using. Slowly pour this mixture into the bowl of dry ingredients, mixing continuously with your hands (gloves optional). The mixture should resemble damp sand.
3. Adjust the Consistency
Grab a handful of the mixture and squeeze. If it holds its shape without crumbling, you’re good to go. If not, lightly spritz the mixture with water, one spray at a time, mixing well after each until you reach the perfect consistency.
4. Add Color (Optional)
To create colorful bath bombs, divide the mixture into separate bowls. Add a few drops of food coloring to each, mixing thoroughly. Cover any unused portions with plastic wrap to prevent drying out.
🛁 Shaping the Bath Bombs
Don’t Have a Mold? No Problem!
You can use:
- Plastic Easter eggs
- Silicone molds
- Ice cube trays
- Clear plastic ornaments
Pro Tip: For decorative flair, sprinkle dried flower petals into the bottom of the mold before filling.
- Pack each half of the mold tightly with the mixture, slightly overfilling both sides.
- Press the halves together firmly.
- For silicone or tray molds, press the mixture firmly into each cavity.
Releasing the Bombs
- Carefully remove one half of the mold, then the other.
- If it cracks or crumbles, remix the ingredients with a light spritz of water and try again.
- For tray or silicone molds, gently press to release the shapes.
⏳ Curing and Storage
- Place the bath bombs on a tray and let them cure for 24–48 hours in a cool, dry space.
- Once fully dry, store in an airtight container to protect from moisture.
- Use within 6 months for maximum fizz and fragrance.
📏 Batch Size
This recipe makes approximately:
- 10 small bath bombs (Easter egg-sized)
- 6–7 medium bath bombs
- 5 large bath bombs

💝 Gift-Worthy Goodness
These shea butter bath bombs make delightful gifts for birthdays, holidays, bridal showers, or self-care packages. Wrap them in tissue paper or place in a mason jar with a cute label for a charming homemade touch!